
Why straightness matters before the job goes too far
Straightness is not only about whether a hole ends up in the right place. It also affects wall thickness, sealing, fit, and how well a part performs once it goes into service. In a workshop, a small amount of drift can turn into a bigger issue by the time the hole reaches its full depth.
That is why straightness checks should start from the first setup and continue through the job. On long holes, especially in components for hydraulic systems, shafts or precision fixtures, a drill that starts correctly can still begin to track away if the guide, coolant flow or clamping changes during the cut.
The aim is to catch movement early, while the hole can still be corrected with setup changes, tooling adjustments or a process review. Once the hole is finished and out of tolerance, the options are much more limited.
Practical ways to check whether the hole is tracking correctly
There is no single check that suits every part. In most shops, straightness is confirmed by combining measurement, visual inspection and an understanding of how the tool should behave through the cut. The right method depends on hole depth, diameter, access and the material being machined.
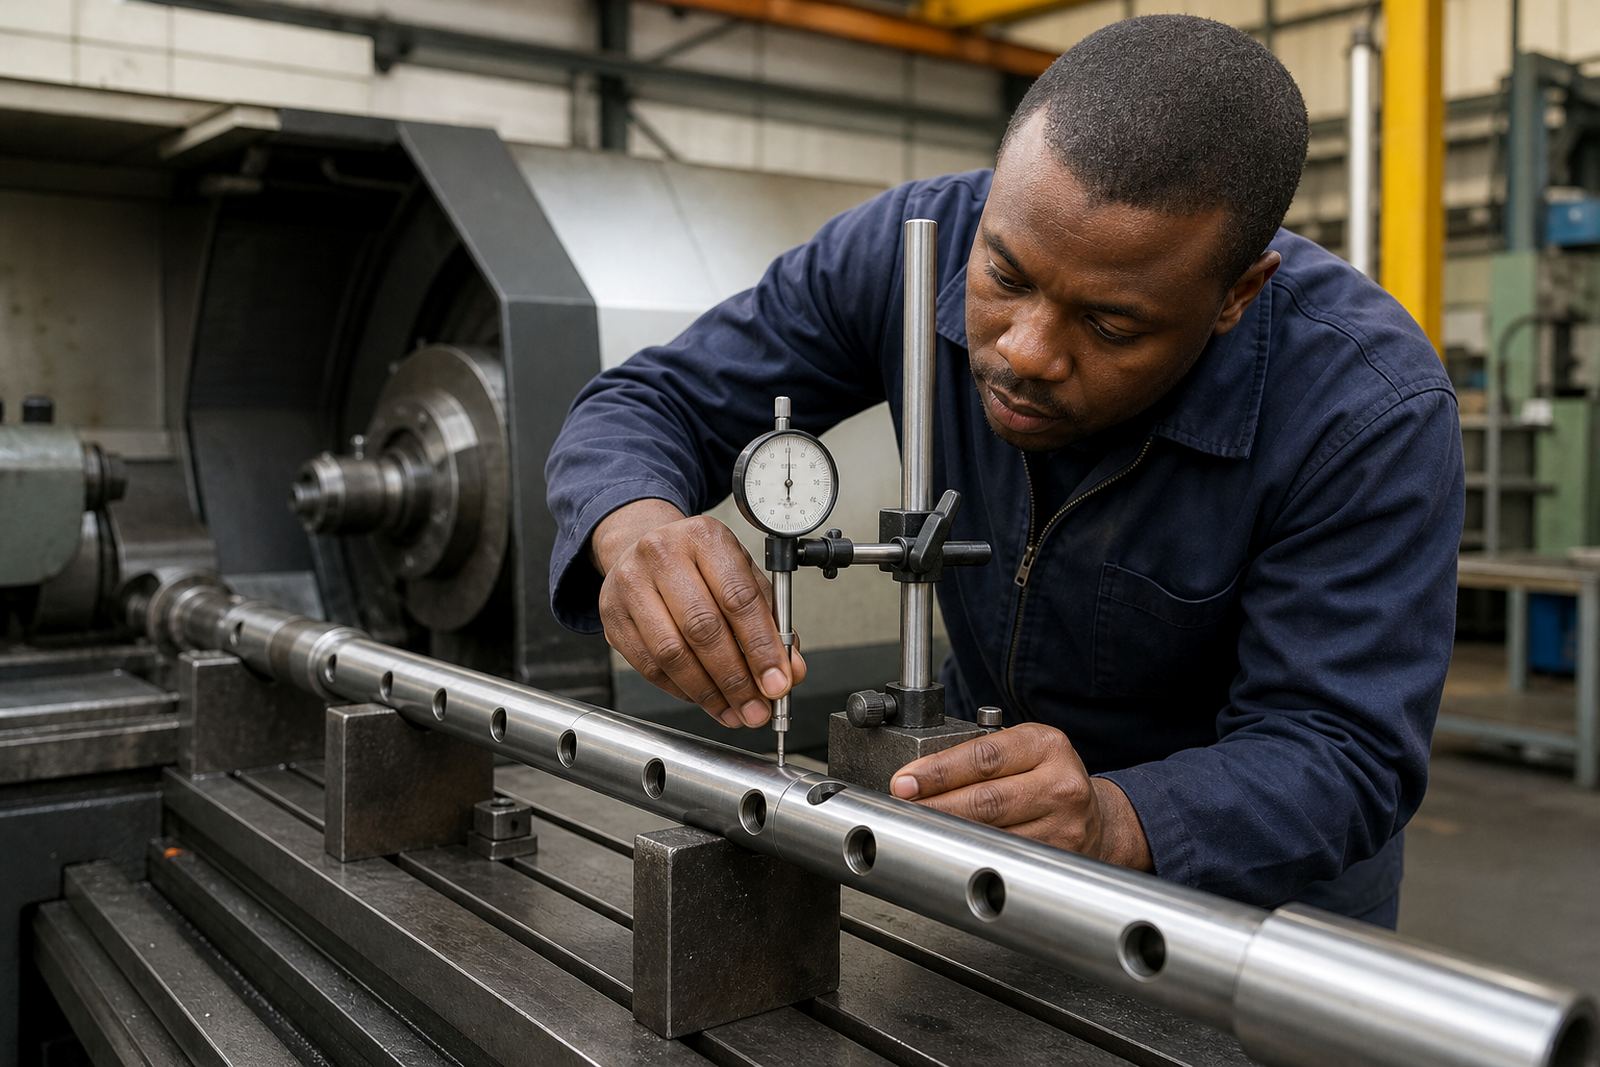
- Measure from both ends where possible to see whether the hole is centred through the full length.
- Use plug gauges, pins or other fit checks to confirm that the bore remains consistent.
- Inspect the breakout point for drift, bell mouthing or a change in direction.
- Check setup references to make sure the part has not moved during the cycle.
- Review the tool path and surface finish for signs of chatter, rubbing or guide wear.
On longer bores, a straight part can still hide a slight curve inside the wall. That is why dimensional checks alone are not always enough. A workshop may pass size and still fail straightness, which is why the process must be watched closely from start to finish.
What usually causes a drilled hole to wander
Hole drift normally comes from a mix of mechanical and process issues. The first place to look is the setup. If the workpiece is not clamped firmly or the machine is not aligned correctly, the tool will follow the weakest path. That is common on heavier parts where the material shifts under load.
Tool condition matters as well. A worn cutting edge, poor guide support or incorrect tooling choice can let the drill pull off line. Coolant delivery is another key factor. If the flow is weak, blocked or not reaching the cutting zone properly, chips do not clear as they should and the tool starts to push rather than cut cleanly.
Material itself can also play a role. Some steels and alloyed materials change behaviour as the tool advances, especially when there are internal stresses or uneven structure. In those cases, the hole may start straight and then slowly move as resistance changes.
How to set up for a straighter result from the first pass
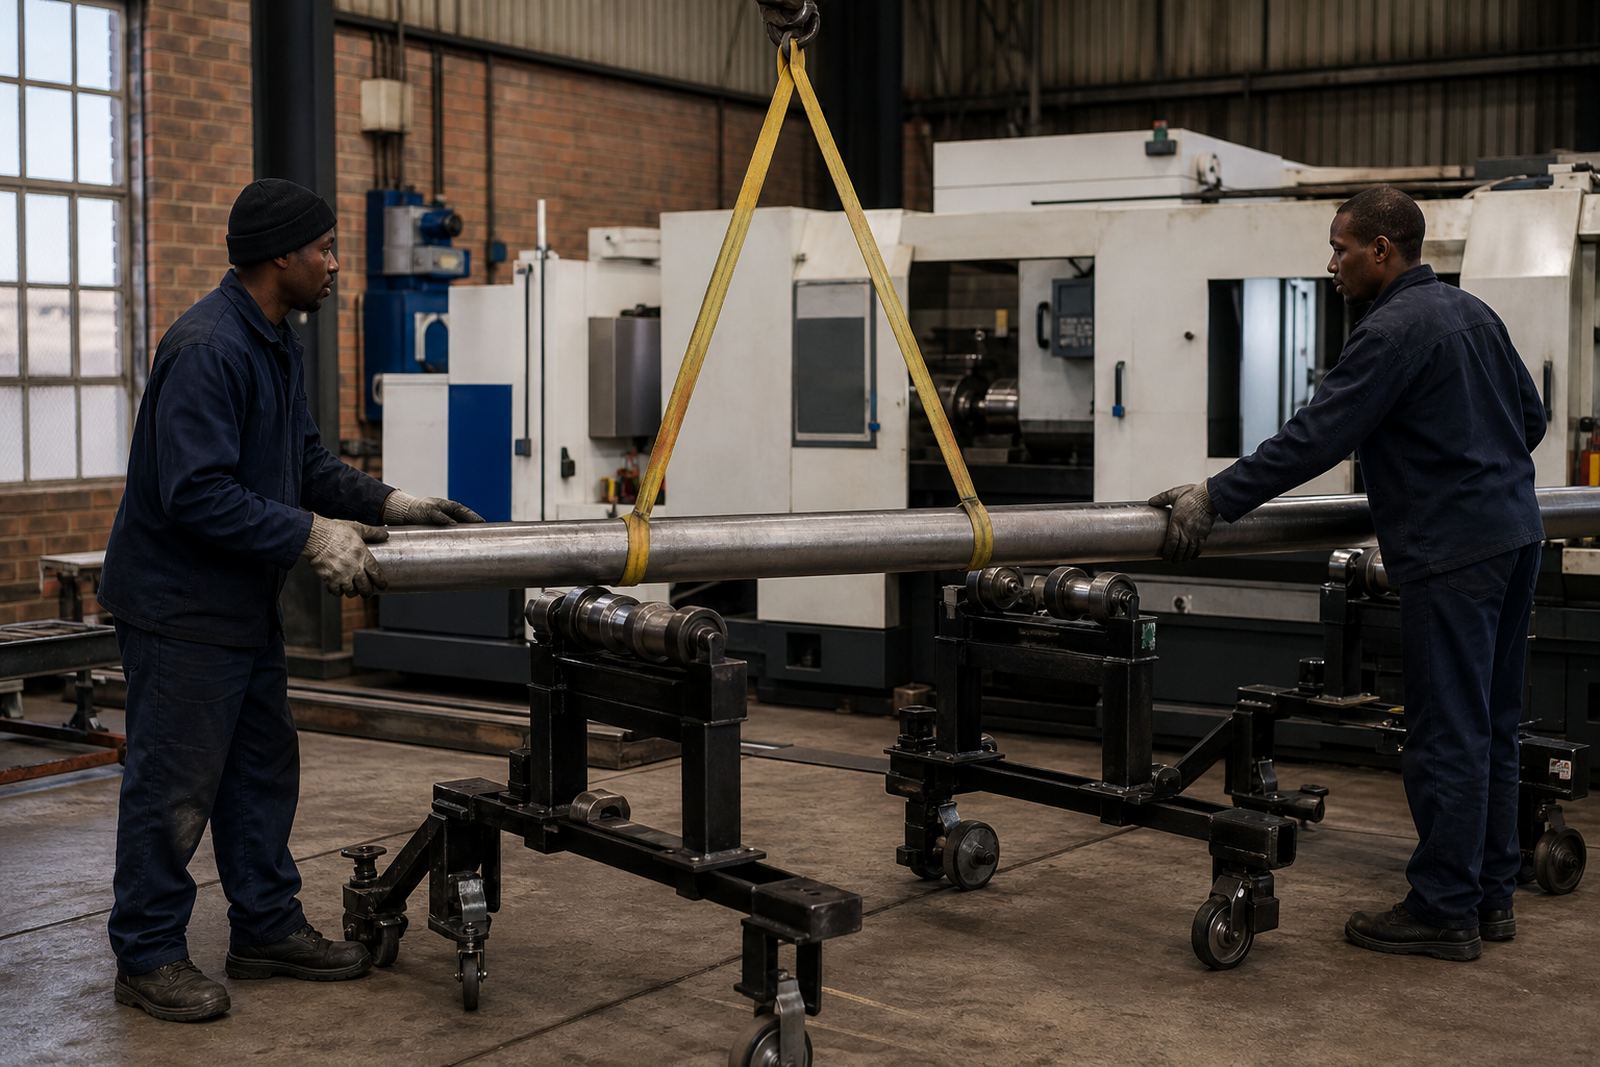
A good result starts with a clean, stable setup. Before the first cut, check the machine condition, alignment and workholding. If the part is long, make sure support points are placed sensibly and that the part is not being forced into position. Over clamping can distort the workpiece and create movement once cutting begins.
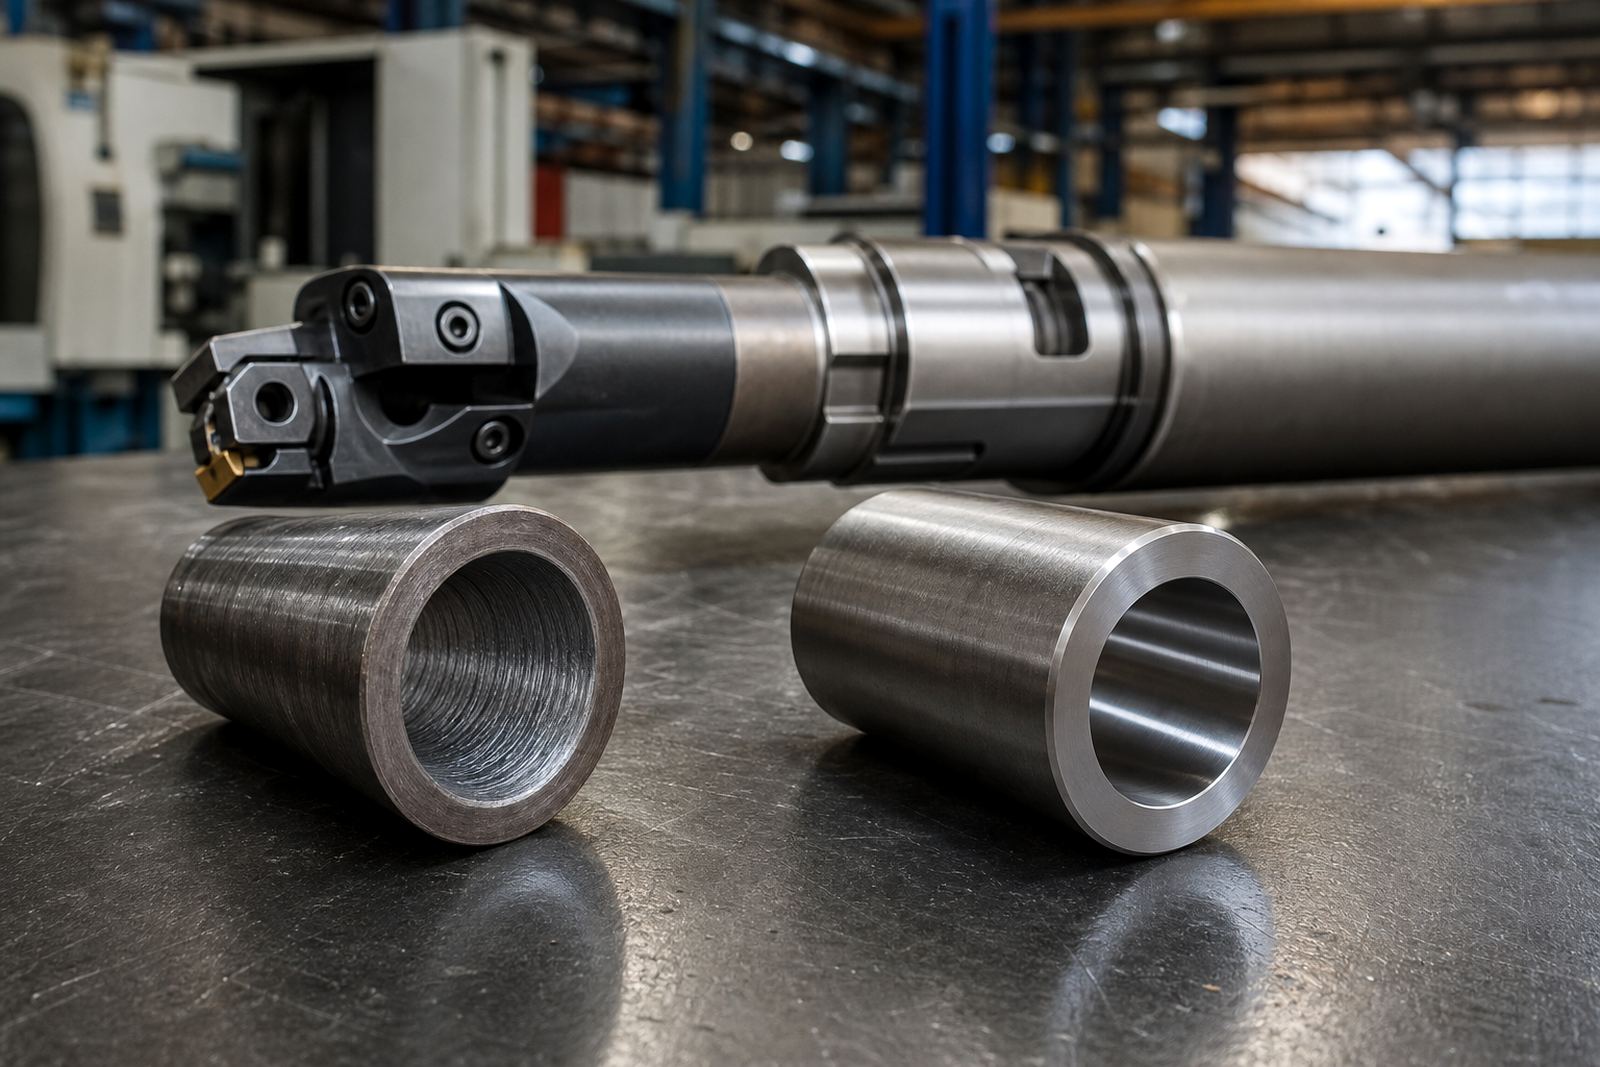
Tooling choice should match the job, not just the diameter on paper. The drill, boring head, guide system and coolant setup all have to work together. If one part of the system is out, the hole can begin to drift even if the machine is otherwise running well.
- Confirm the fixture is square and repeatable before production starts.
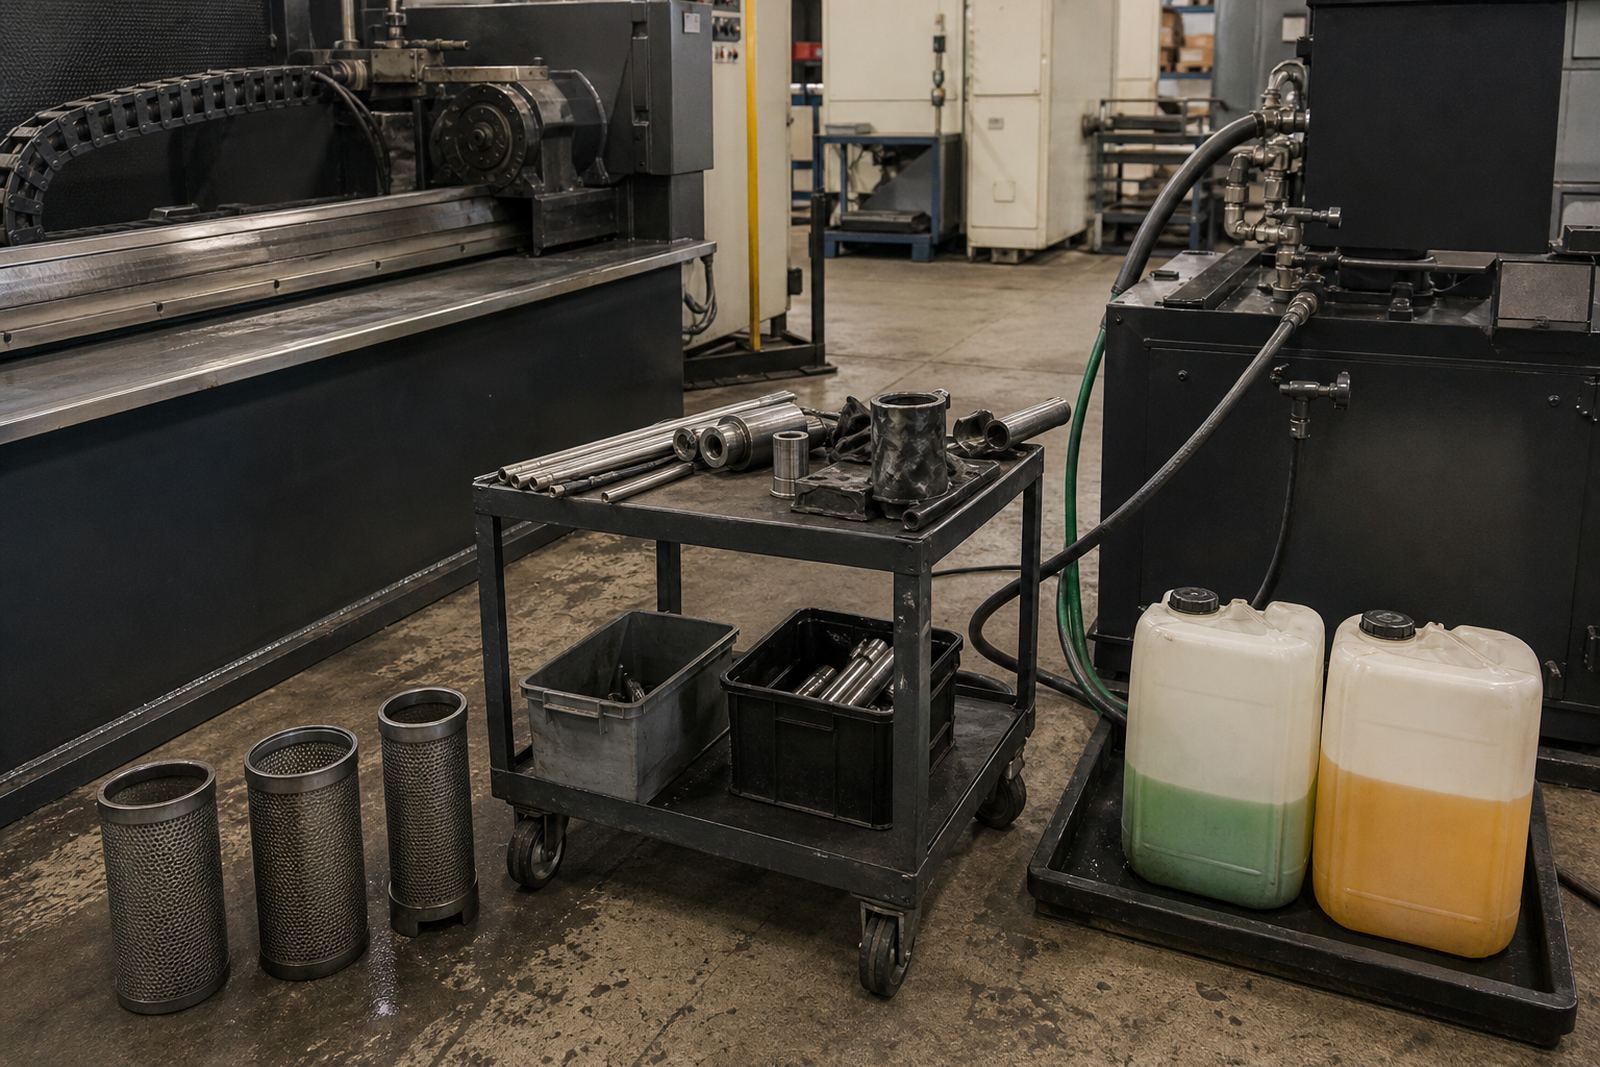
- Check the coolant path and pressure at the point of cut.
- Inspect tool wear before loading a long run.
- Make sure chips can evacuate freely and are not packing in the bore.
For shops running long shifts in Gauteng or on the coast, changing temperatures and humidity can also affect how material behaves and how chips clear. That is one reason a setup that works in the morning may need a small adjustment later in the day.
When to stop and correct the process
If the hole begins to drift, do not wait until the end to see how bad it is. Pause and check the basic conditions first. Look at tool wear, coolant delivery, clamping, alignment and chip removal. In many cases, a small correction made early can save the full part.
Signs that need attention include a change in sound, rising cutting load, a poor finish, or a breakout point that is clearly off line. If the hole is moving in a predictable direction, the process should be reviewed before more parts are run. That review may include a new tool setting, a different setup method or a check on the machine itself.
In deep-hole work, the biggest mistake is often carrying on because the first few millimetres looked fine. Straightness must be checked along the full length, not just at entry. The deeper the hole, the more important it becomes to monitor the job as it progresses.
A Benoni example from a long-hole job
A workshop in Benoni machining a long hydraulic component may start with a clean entry and good surface finish, then notice that the breakout is not where it should be. At that point, the part still looks acceptable from the front, but the internal path has already moved. A quick check of alignment, chip flow and tool support often shows where the problem began.
That is the practical value of straightness checks. They turn a hidden issue into something measurable before more time and material are lost. For manufacturers around Johannesburg, Pretoria, Durban, Cape Town and Gqeberha, this matters just as much on one-off work as it does on repeat production. The earlier the track is verified, the easier it is to keep the part in spec.
Support that helps keep the hole on line
At Deephole, the focus is on gun-drilling and deep-hole boring machines, tooling, setup and support that help workshops get repeatable results. That includes machine installation, commissioning, tooling selection, setup optimisation, operator training, process troubleshooting, preventive maintenance, breakdown support, spare parts support, coolant system service, alignment checks and production startup.
Our team works from Benoni, Gauteng and supports manufacturers and engineering shops across South Africa. Whether the job is in a busy East Rand plant or a smaller production shop elsewhere in the country, the same principle applies: verify the setup, watch the process and confirm the hole is tracking correctly before the part leaves the machine.
Checking straightness is not a single measurement. It is a process discipline, and it pays off every time a bore has to run true over a long distance.